Introduction
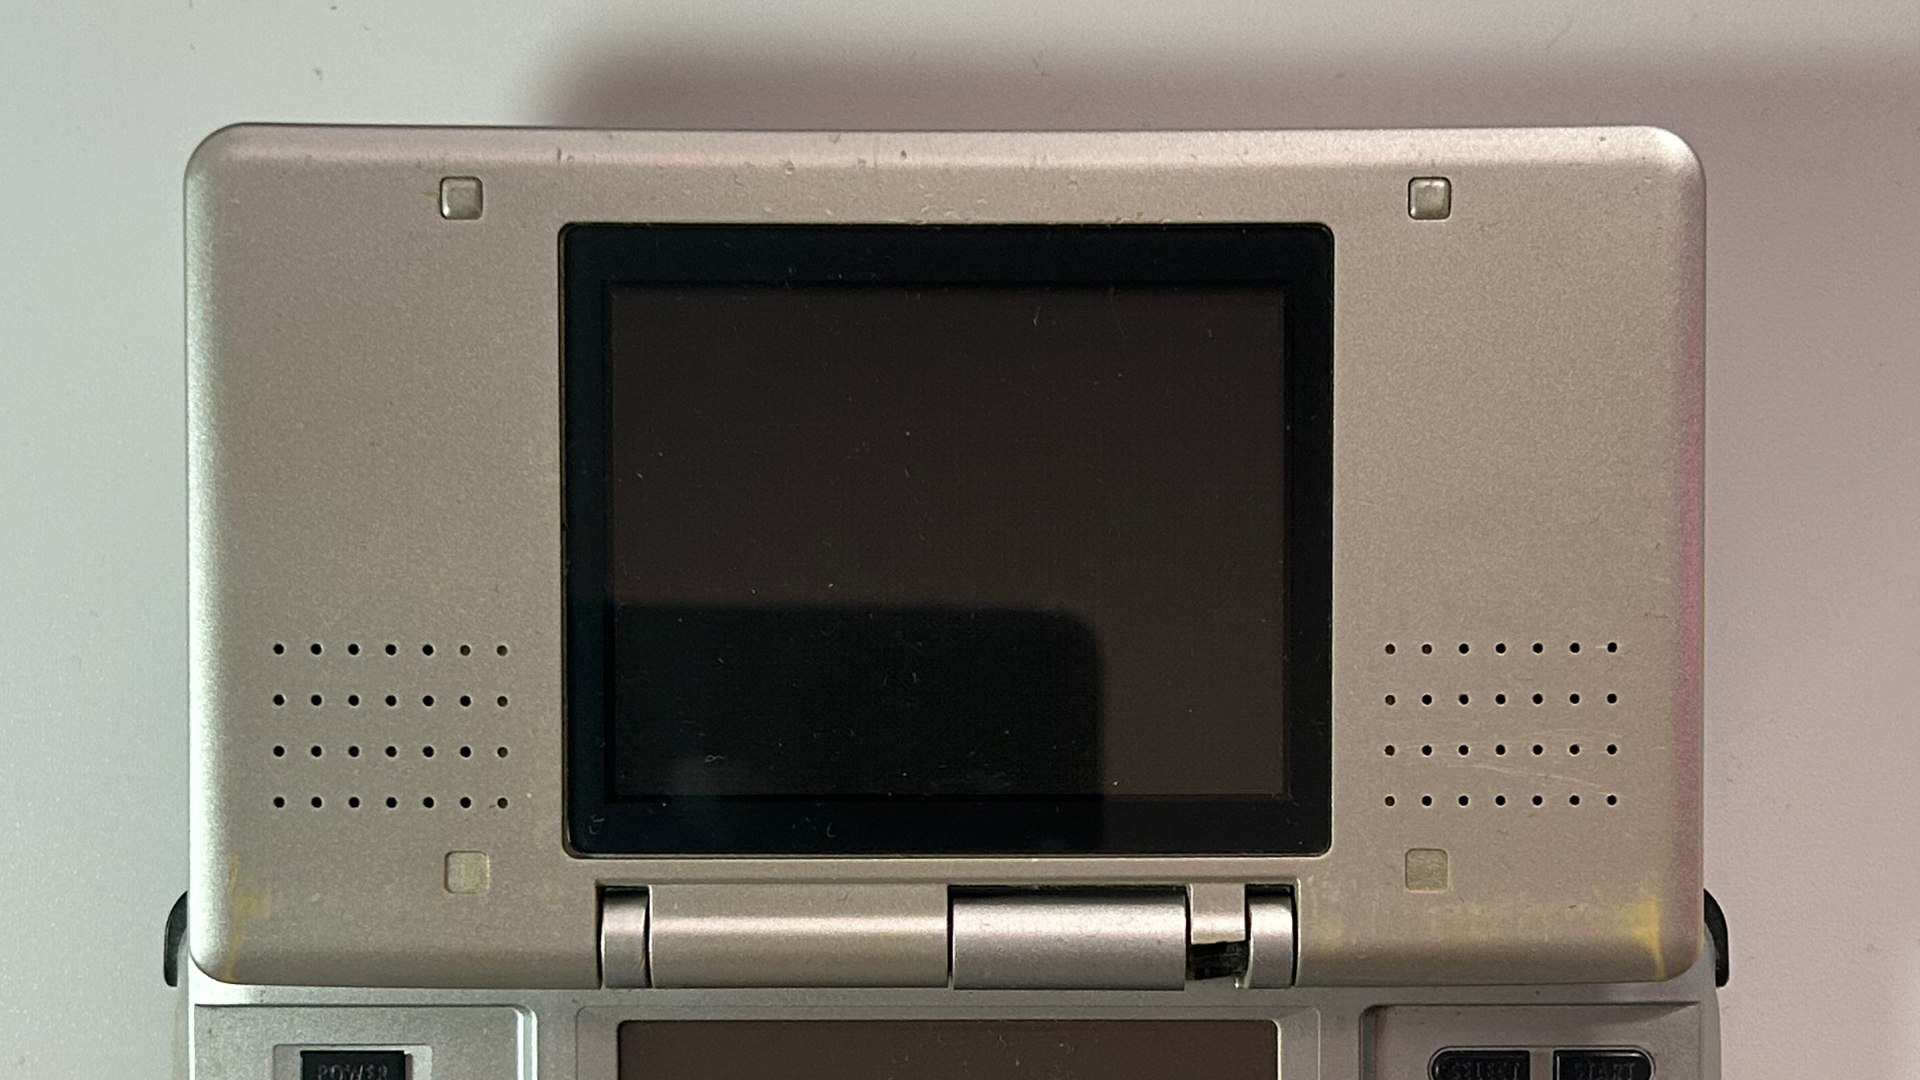
In this guide, I'll show you how to replace the speakers in an original Nintendo DS.
Replacing the speakers may help if one or both speakers no longer produce sound, produce distorted or crackling audio, or have become physically damaged.
Unlike a top LCD replacement, the top screen does not need to be removed for this repair. The speakers can be accessed by opening the upper screen housing and removing the speaker daughterboards.
What you'll need
- Phillips screwdriver
- Plastic pick, spudger or opening tool
- Precision tweezers
- Replacement speaker or speakers compatible with the original Nintendo DS
Step 1 – Open the upper screen housing
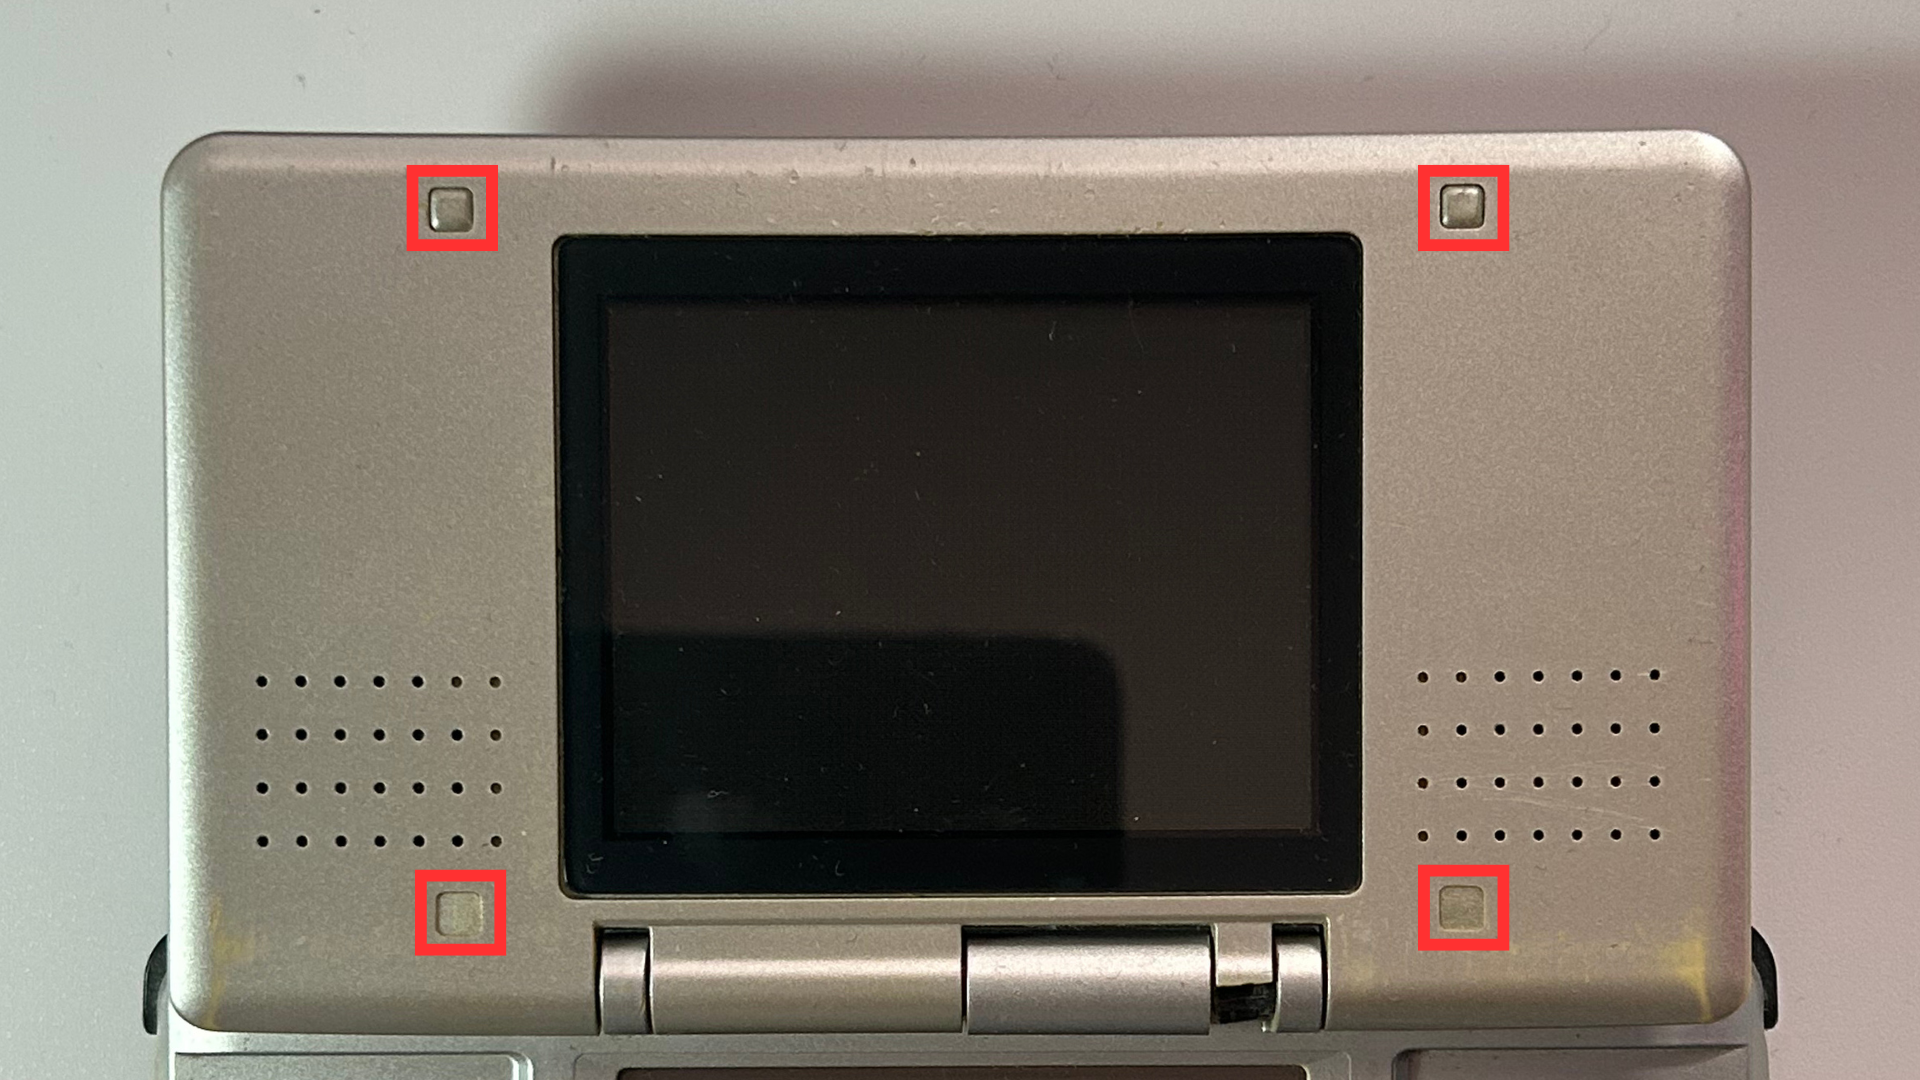
- Open the Nintendo DS and locate the four rubber screw covers positioned around the top screen.
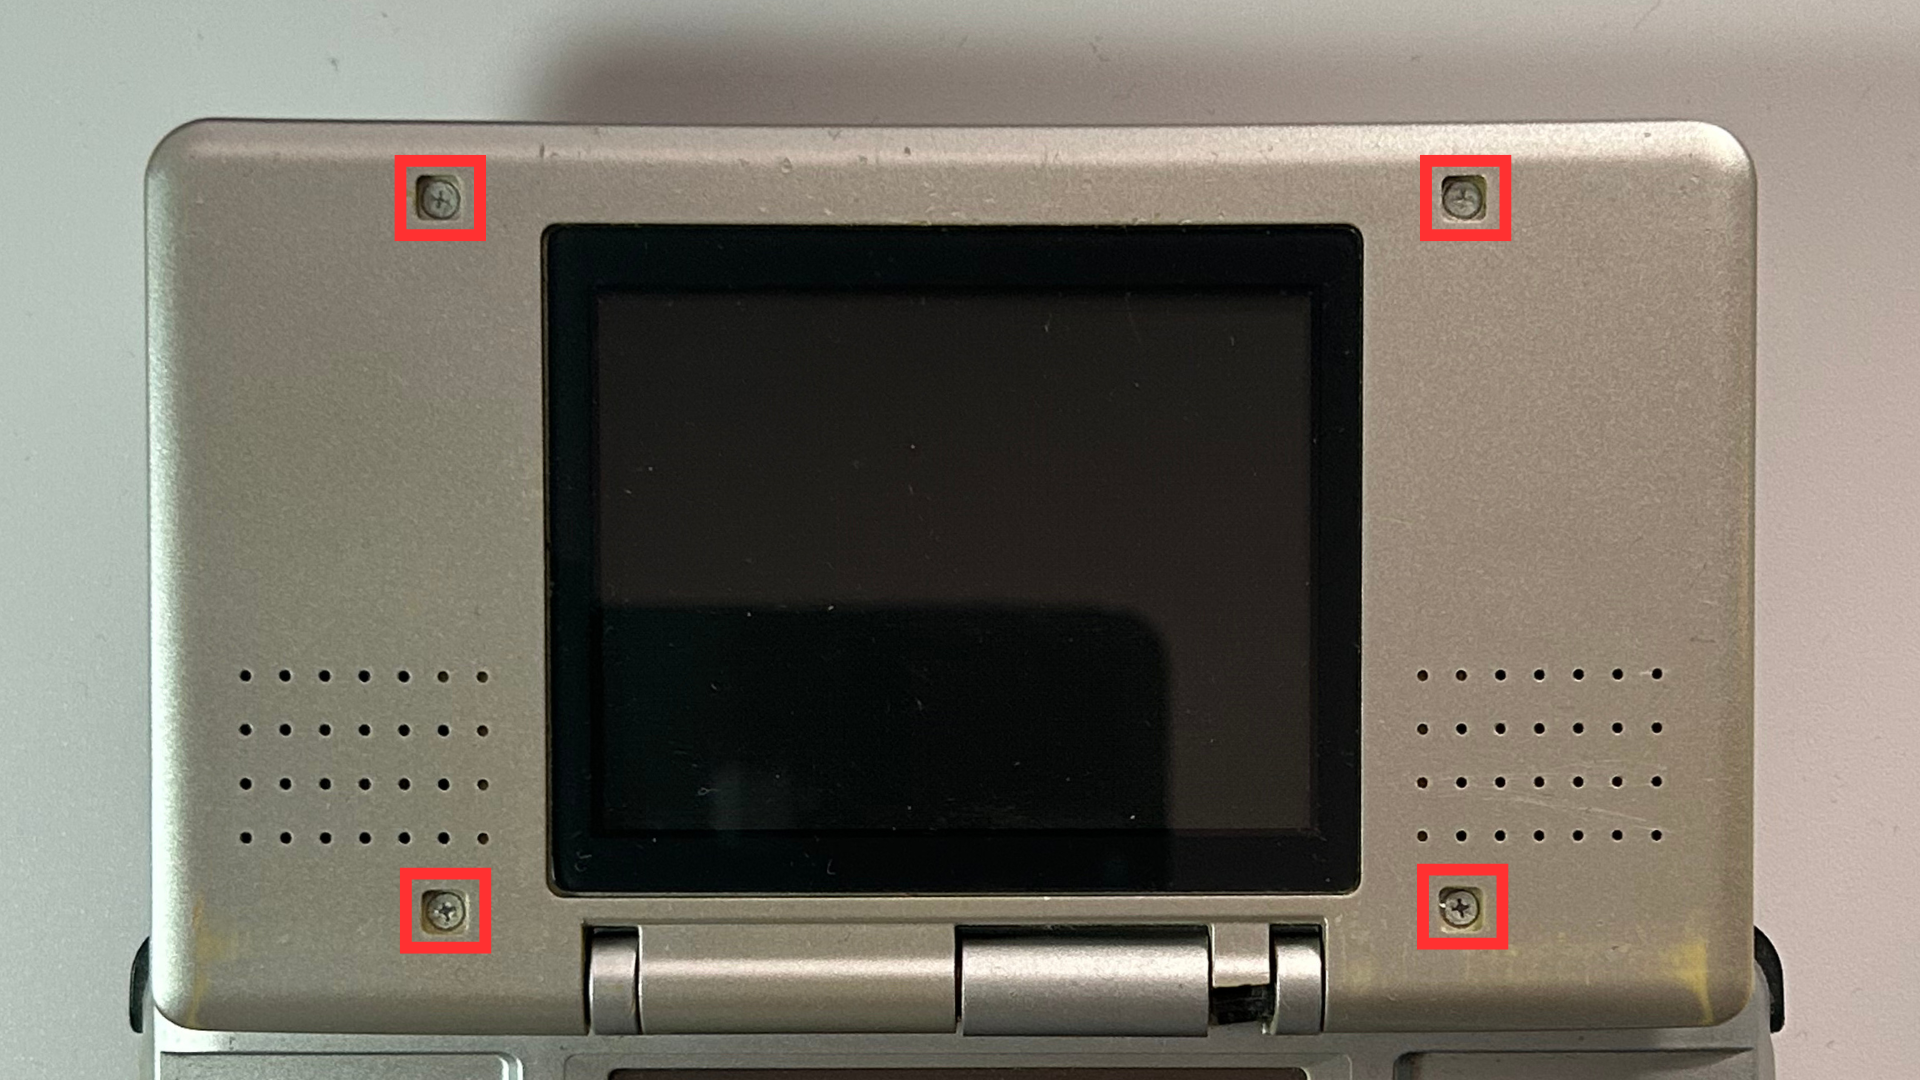
- Carefully remove the four rubber covers to expose the Phillips screws underneath.
- Remove all four Phillips screws securing the rear section of the upper screen housing.
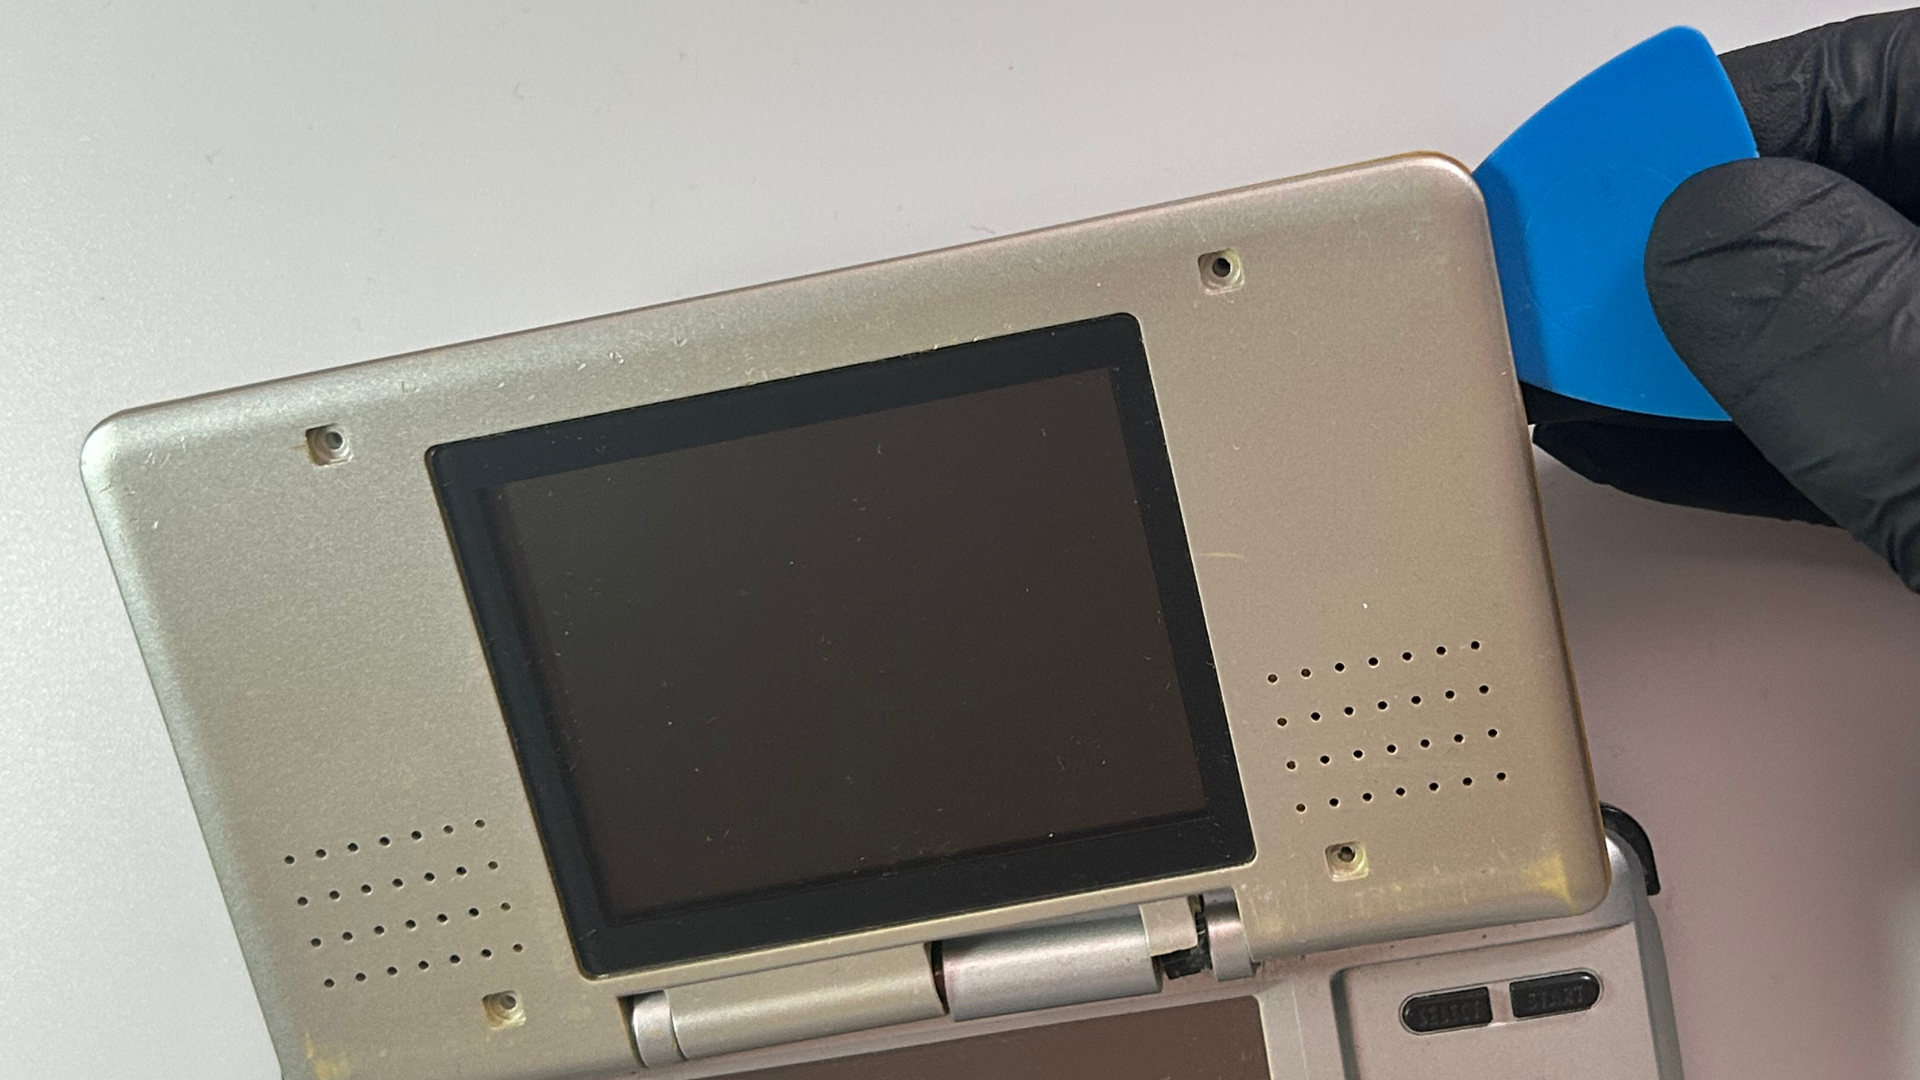
- Use a plastic pick or pry tool to carefully separate and remove the rear section of the upper screen housing.
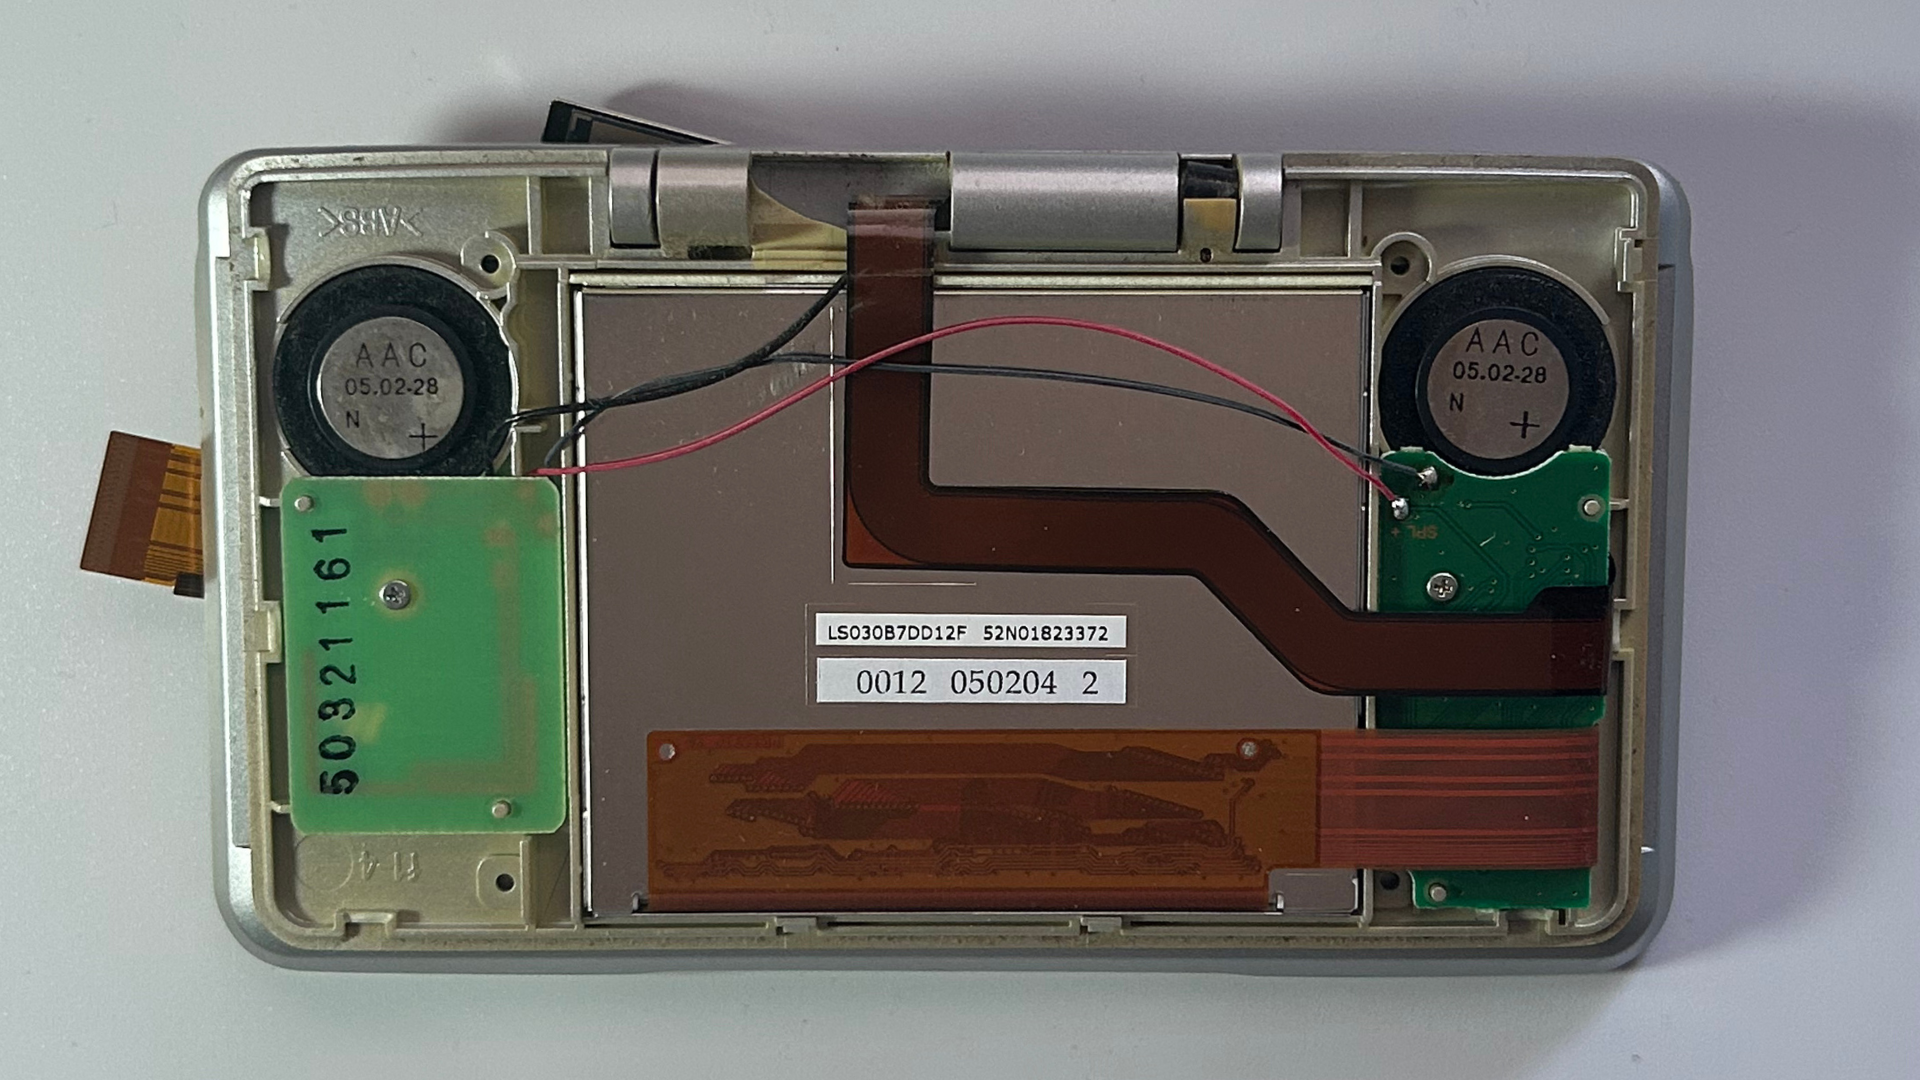
Step 2 – Disconnect the speaker daughterboards
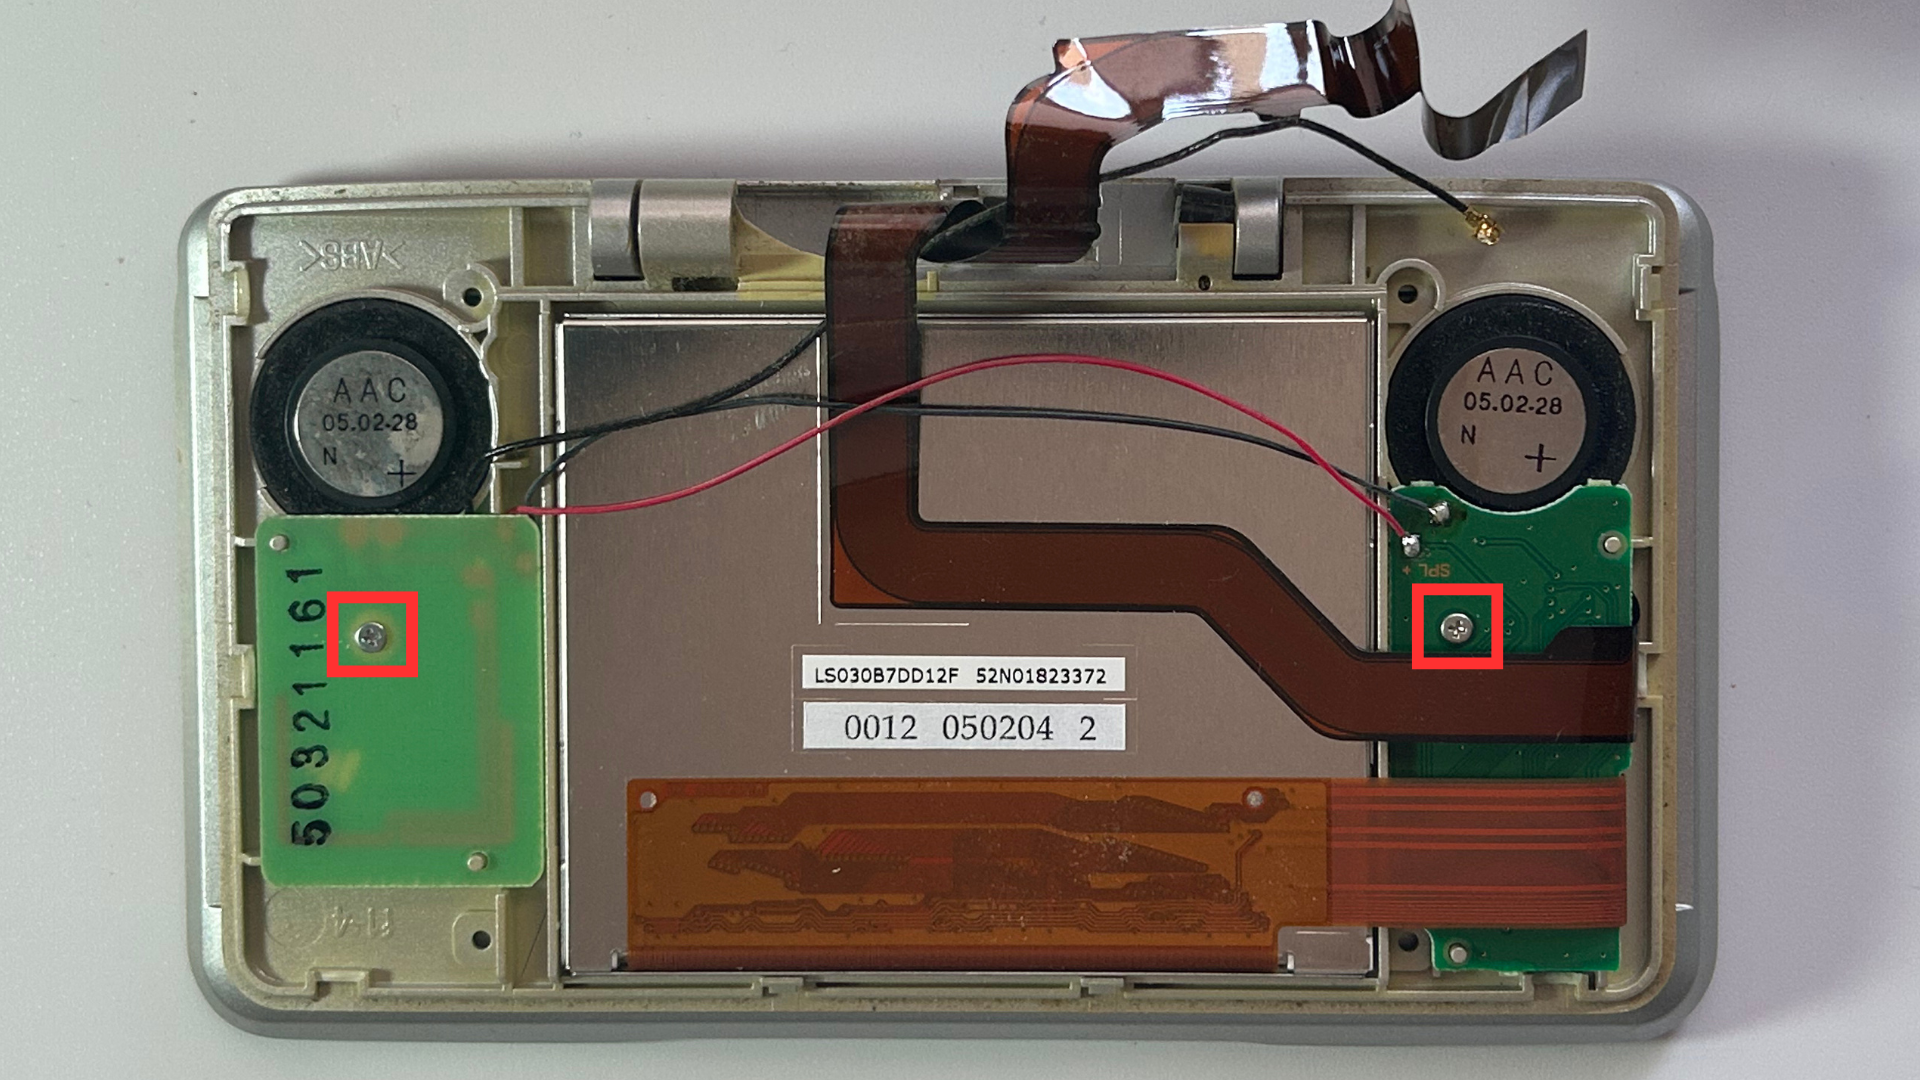
- Locate the two speaker daughterboards inside the upper screen housing.
- Remove the Phillips screw securing each daughterboard.
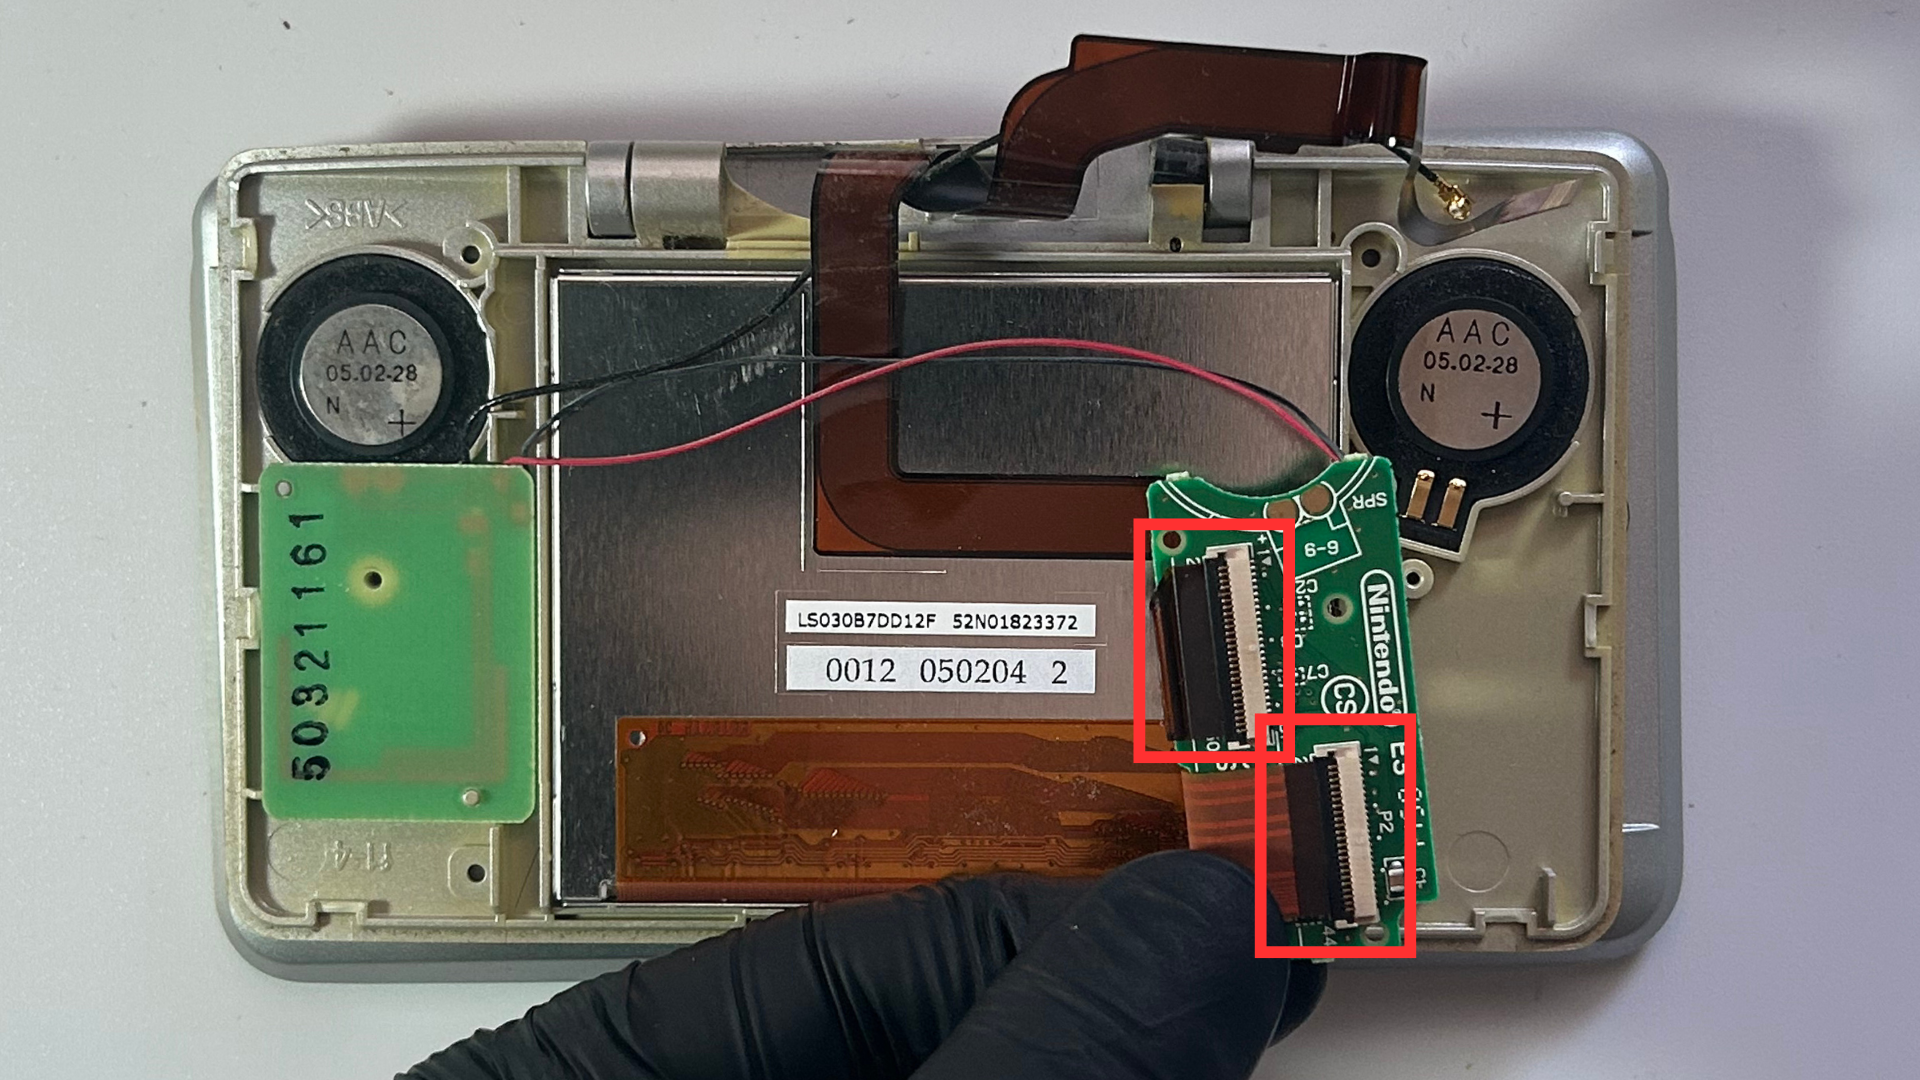
- Carefully lift the black locking tabs on the ribbon cable connectors and disconnect the ribbon cables.
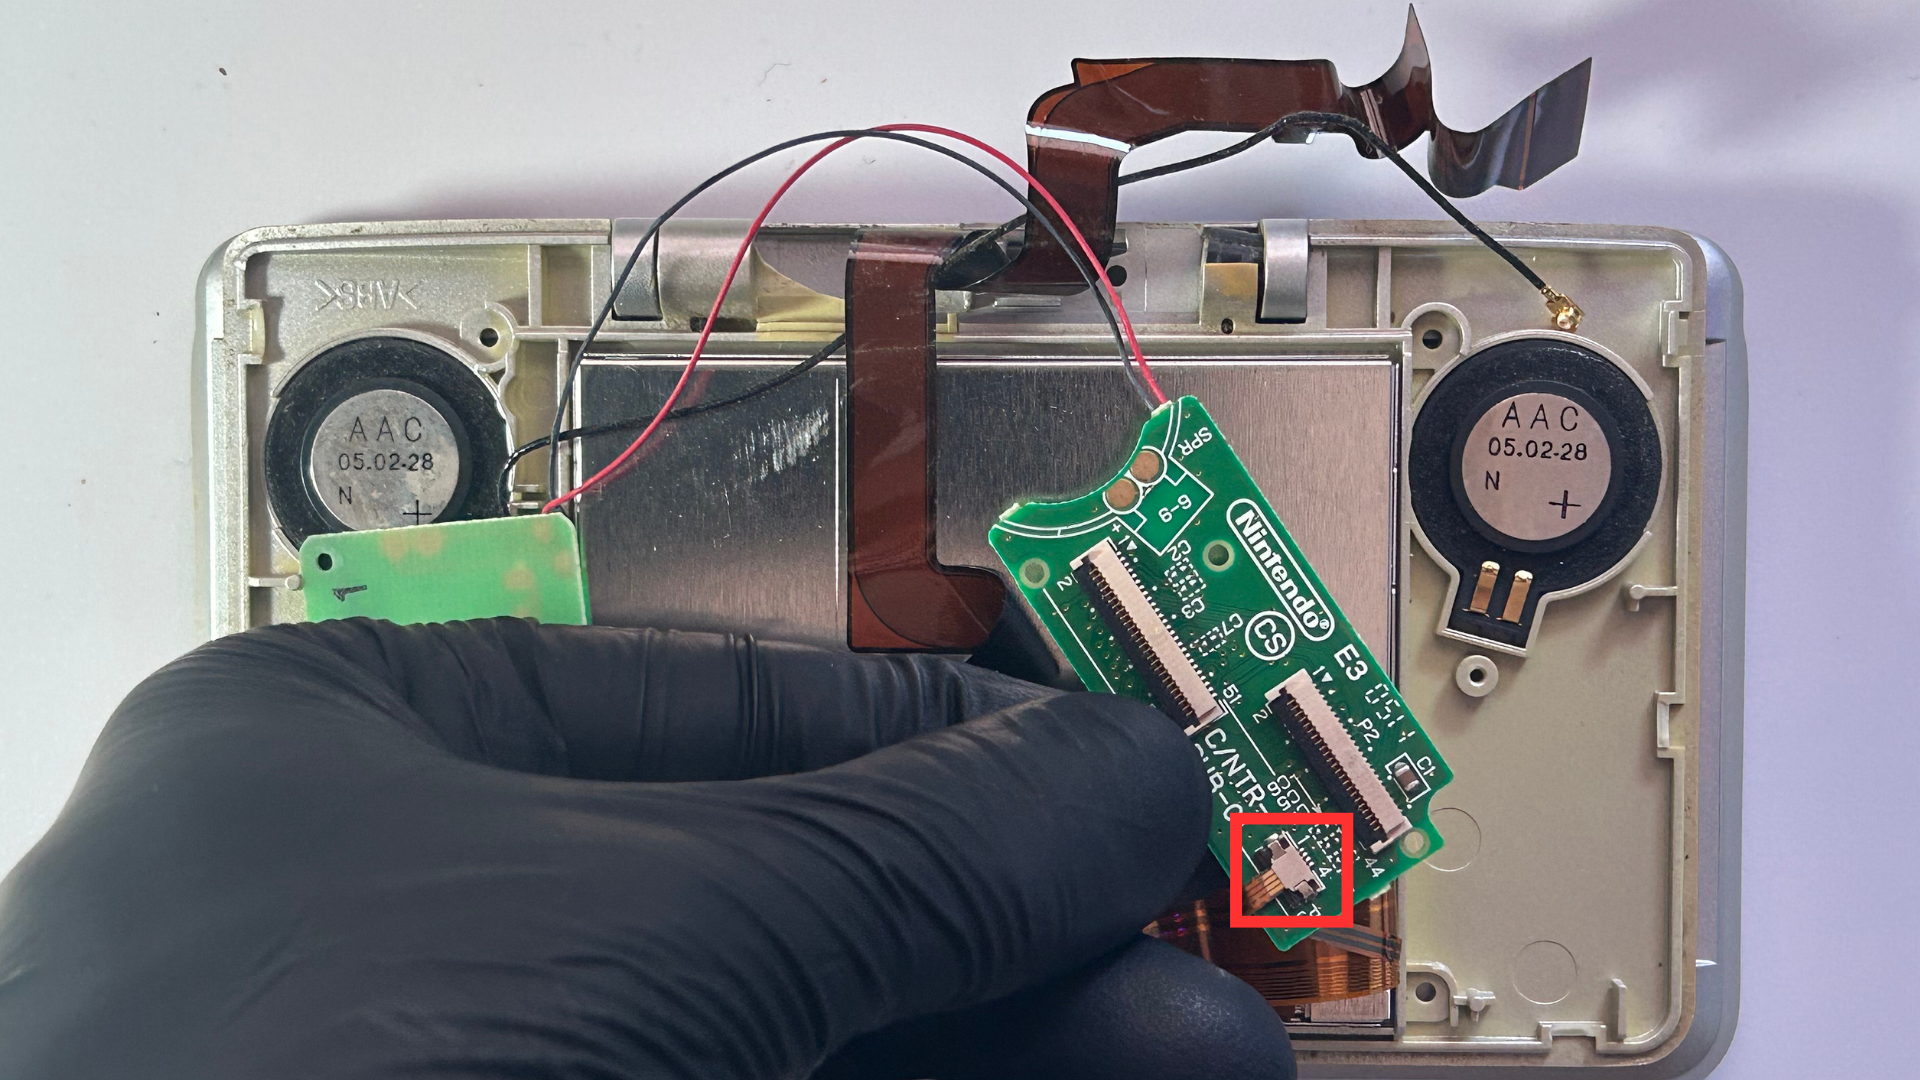
- Disconnect the smaller ribbon cable located underneath one of the larger ribbon cables.
- Carefully lift both speaker daughterboards out of their positions in the upper housing.
Step 3 – Remove the speakers
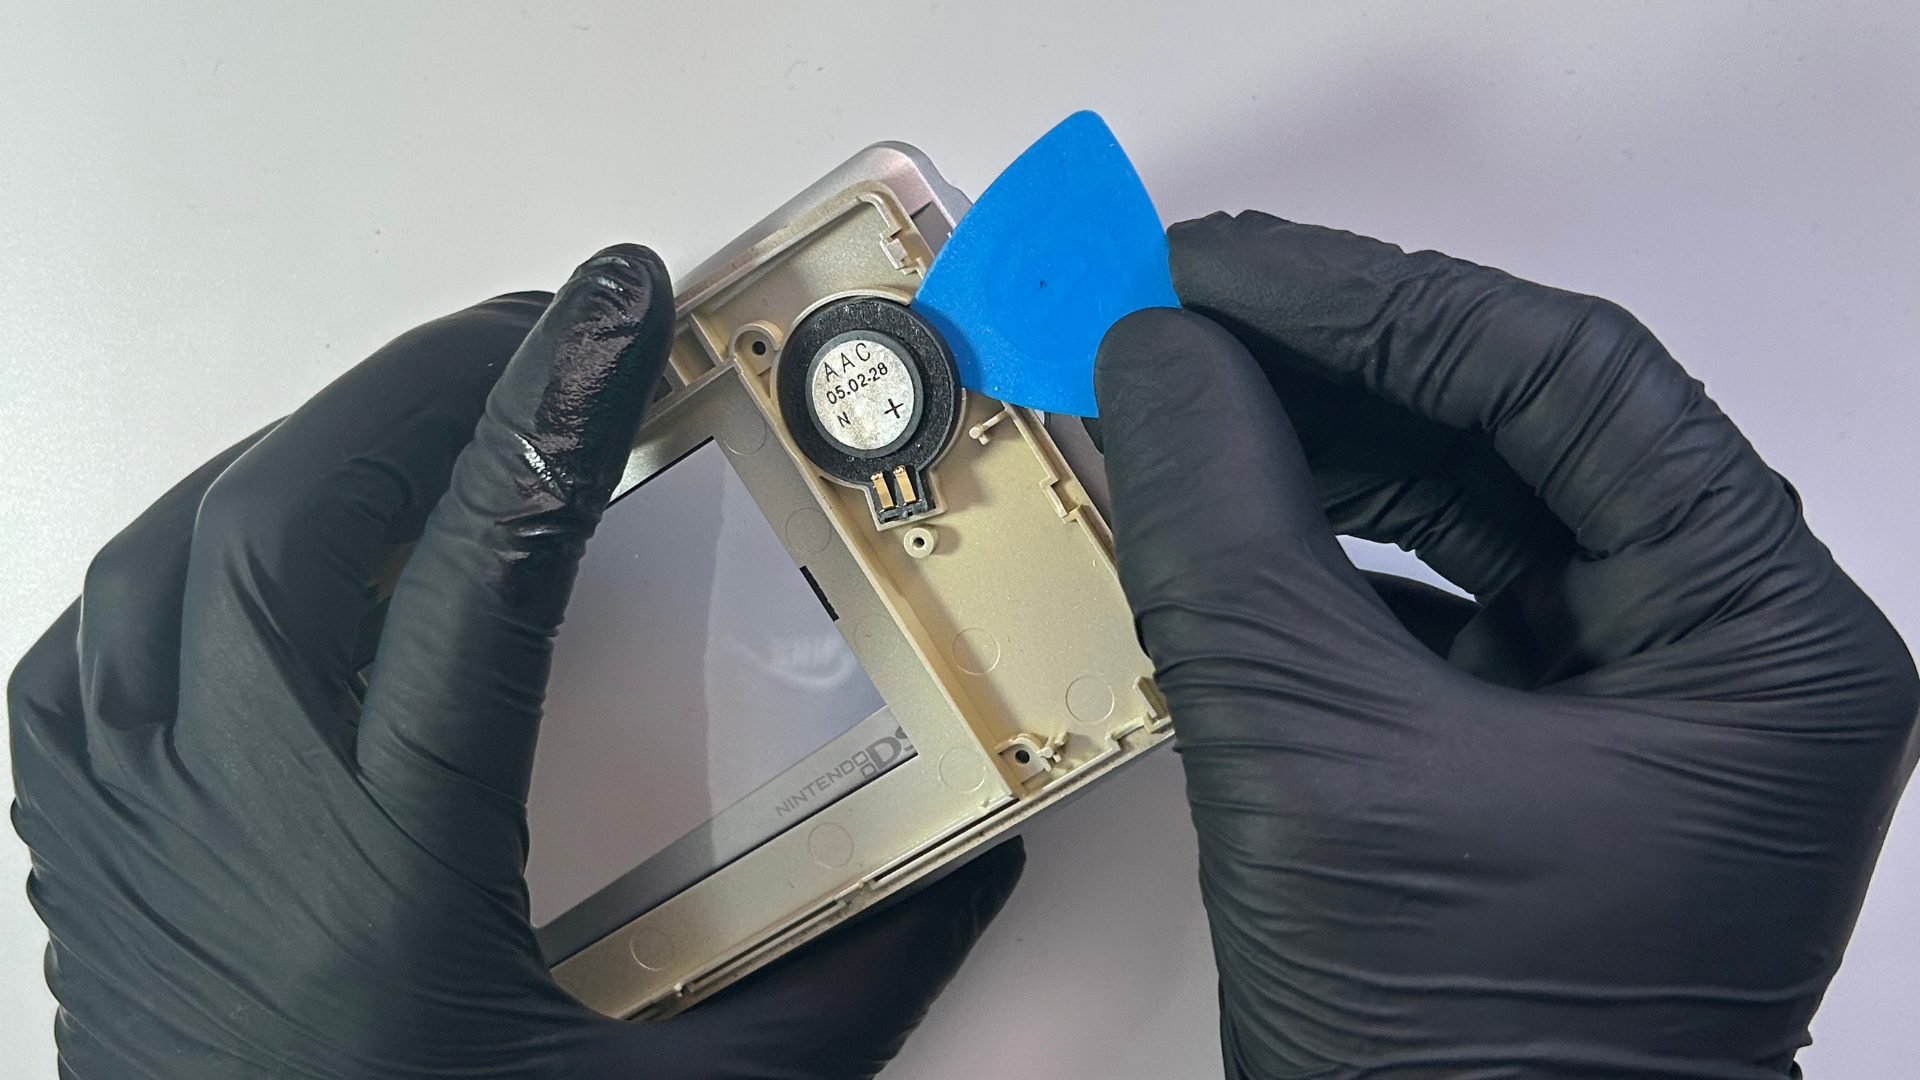
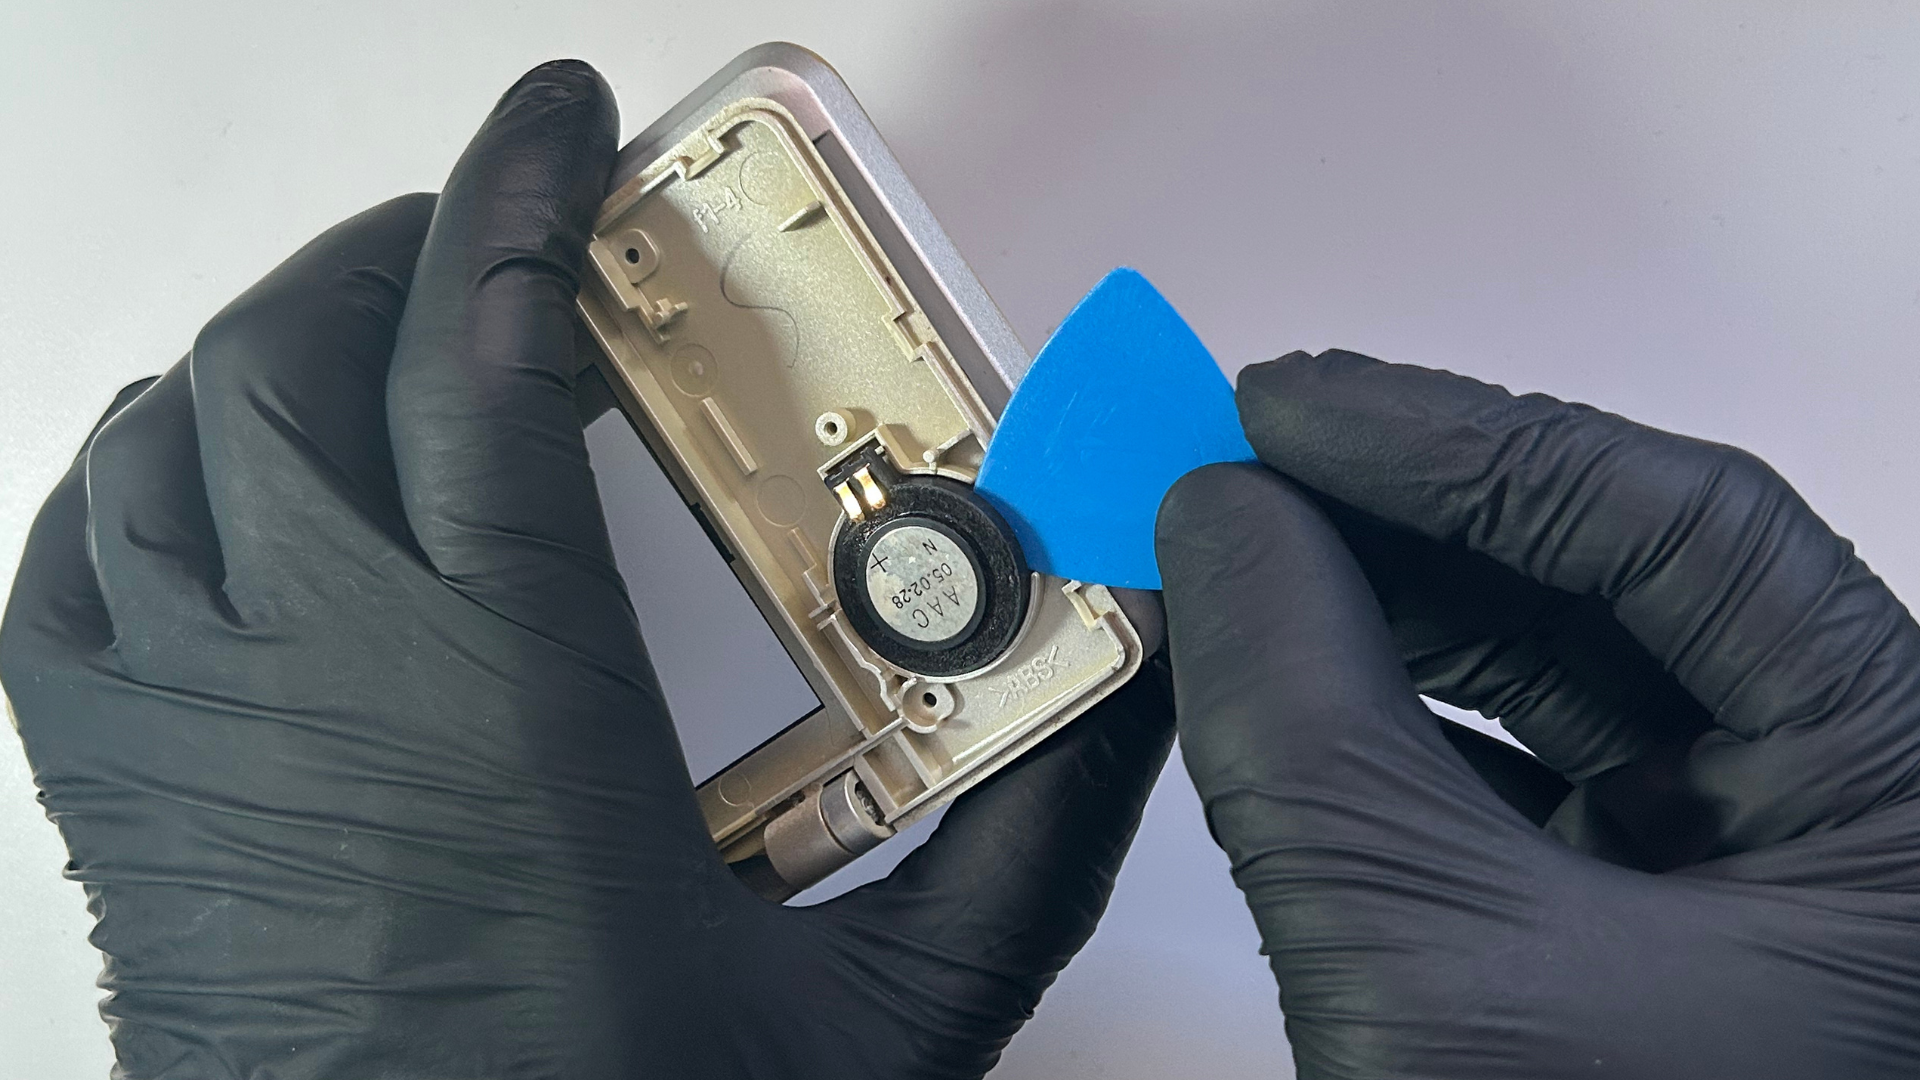
- Locate the left and right speakers on either side of the top LCD.
- Use a plastic pick or another thin plastic opening tool to carefully lift the first speaker out of its position in the housing.
- Repeat the process for the speaker on the opposite side.
- Take note of the orientation of the original speakers before removing them completely.
Step 4 – Install the replacement speakers
- Compare the replacement speakers with the originals and make sure they are compatible with the original Nintendo DS.
- Position each replacement speaker in the same orientation as the original.
- Carefully seat each speaker into its position in the upper housing.
- Reinstall the speaker daughterboards.
- Reconnect the ribbon cables, making sure each cable is fully inserted before closing its locking tab.
- Reinstall the Phillips screw securing each daughterboard.
Step 5 – Reassemble and test the Nintendo DS
- Check that both speakers and daughterboards are correctly positioned inside the upper screen housing.
- Refit the rear section of the upper screen housing.
- Reinstall the four Phillips screws surrounding the top screen.
- Refit the four rubber screw covers.
- Power on the Nintendo DS.
- Play a game or other audio and confirm that sound is produced clearly from both the left and right speakers.
- Adjust the volume control and confirm that the audio level changes correctly.
Conclusion
Replacing the speakers in an original Nintendo DS is a relatively straightforward repair because the speakers can be accessed through the upper screen housing without removing the top LCD.
Take particular care when working with the small ribbon cable connectors on the speaker daughterboards. Once the console is reassembled, test both speakers and the volume control to make sure the replacement speakers are working correctly.